
The Freelancer’s Guide to Using Apple for ID
August 1, 2025

For freelance instructional designers, the default computer choice has always been a Windows laptop. After my last one cooked itself to death, I decided my business deserved a more reliable foundation.
The question of which computer to buy for instructional design comes up often, and for years, the default answer has been a Windows PC or Laptop, mainly because of Articulate Storyline’s stronghold on the eLearning development market. However, with a range of new competitors in the elearning authoring tool space and more and more essential software being browser-based, that trend is changing. Six months ago, after a series of frustrating hardware issues with Windows Laptops, I decided to see if a Macbook was a viable (or even superior) platform for my freelance ID business.
Click to jump to a specific section or scroll down to read through the entire guide.
Why I Switched to a Mac
My last Apple computer was a 2011 16-inch MacBook Pro, which is still alive and running Windows 10 almost 15 years later (Apple no longer supports it). Prior to that I had a 2008 MacBook which is also still alive and running Linux (being used by a family member). I’ve been in and out of the Apple ecosystem, but in the years between, I used a custom-built Windows PC and, more recently, high-end laptops like the ASUS ROG Flow 13. The ROG Flow was a portable powerhouse with a Ryzen 9 processor, but its gaming DNA meant abysmal battery life (two hours if I was lucky) and its 16GB of soldered RAM was a hard limit that I found myself constantly pushing up against.
Seeking more power and freedom, I upgraded to a top-spec Dell XPS 15 in 2023. On paper, it was perfect: an i9 processor and RAM I could upgrade myself (I put in 64GB). In reality, the "11-hour battery" lasted 3-4 hours, and the touchscreen didn't work with my Microsoft Surface Pen. The final straw came after 15 months, just out of warranty. I closed the lid, assuming it would sleep as any modern laptop should. Instead, it cooked itself overnight on my desk while charging. The motherboard was fried.

Faced with a $600 repair after spending nearly $2,800 on a computer that I was expecting to last several years, I decided to rethink my entire setup. This time, my priority wasn't just raw specs, but real-world reliability and performance. That decision led me back to Apple, but it opened up the first big question: which Mac is the right choice for a freelance instructional designer today?
Which Mac to Get?

Because pretty much any Apple Silicon chip can handle even the heaviest ID workflows, the real decision comes down to three things: portability, ports, and, most importantly, how much RAM you need.
The CPU performance across the lineup is so strong that for most instructional design tasks like writing, storyboarding, graphic design, and even running Parallels, the base-level chip is more than enough.
After weighing the options, I landed on the M4 Pro with 48GB of RAM. My choice was driven almost entirely by needing more than the 32GB RAM limit on the base M4 models. With my entire workflow open (multiple browsers with lots of tabs, design software, communication apps, Parallels running Storyline, and even a local LLM), I typically use around 35-42GB of RAM. My CPU usage, however, rarely goes above 15%.
This means that for a heavy multitasker, RAM is the most critical spec to invest in. The base M4 chip maxes out at 32GB of RAM, which would be stretched for my workflow. That left the M4 Pro or the M4 Max. After my experience with the power-hungry i9 in the Dell, I knew more raw power often means shorter battery life. The M4 Pro with 48GB of RAM was the better balance of performance and efficiency for my needs.
But your needs and priorities may be different than mine, so here's a list of Apple's current offerings (as of Q3-2025) to help you decide which Mac best fits your workflow:
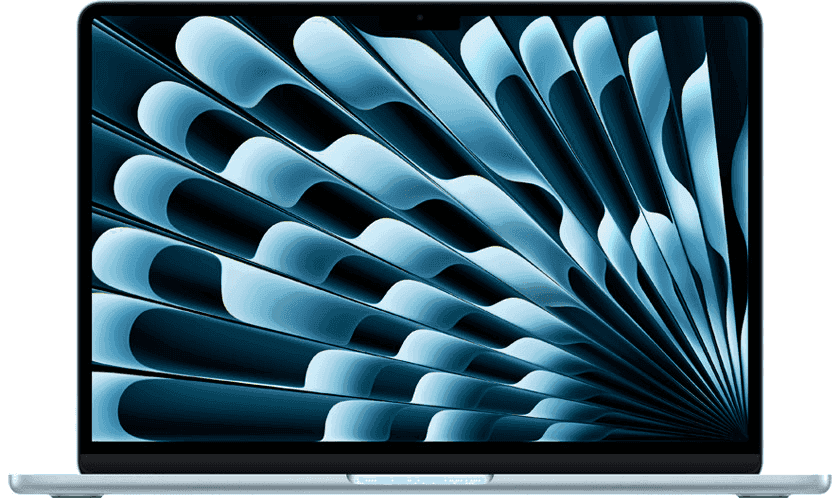
MacBook Air - The Portability King
If 32GB of RAM is enough for your workflow (especially if you don't need to run Parallels constantly), the MacBook Air could be a great option. The trade-off is the lack of ports. You get just two USB-C ports (though MagSafe charging frees one up). That said, the Air is lighter, cheaper, and still fully capable of handling any CPU heavy task you throw at it. It's the ideal choice if you prioritize portability and are OK with keeping dongles in your bag.
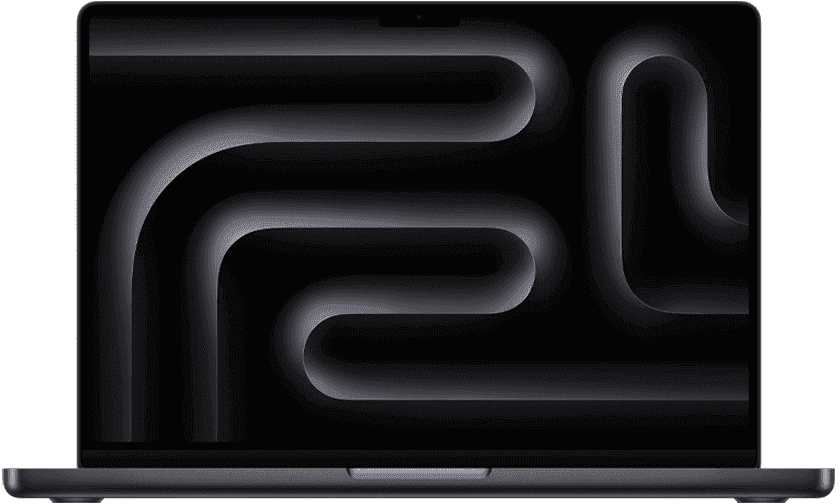
MacBook Pro - Power with No Compromises
If you want portability but need more than 32GB of RAM or highly value the built-in HDMI port, SD card reader, and extra USB-C ports, the MacBook Pro is the best fit. It’s built for heavy multitasking and professional workflows without compromise while still being easy enough to throw in a backpack and take anywhere.
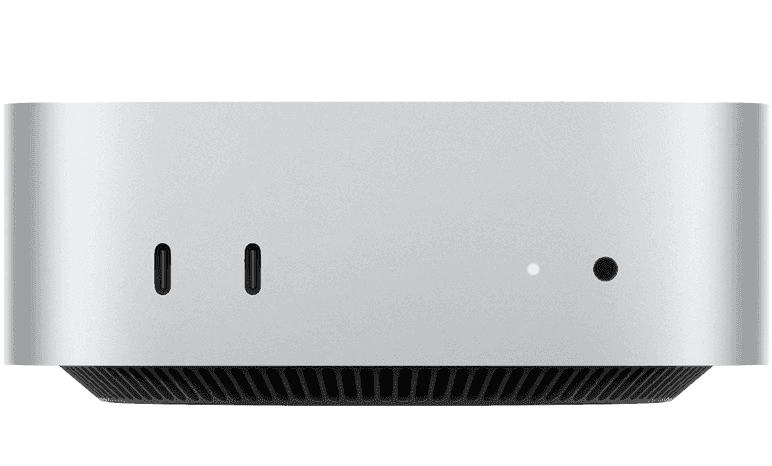
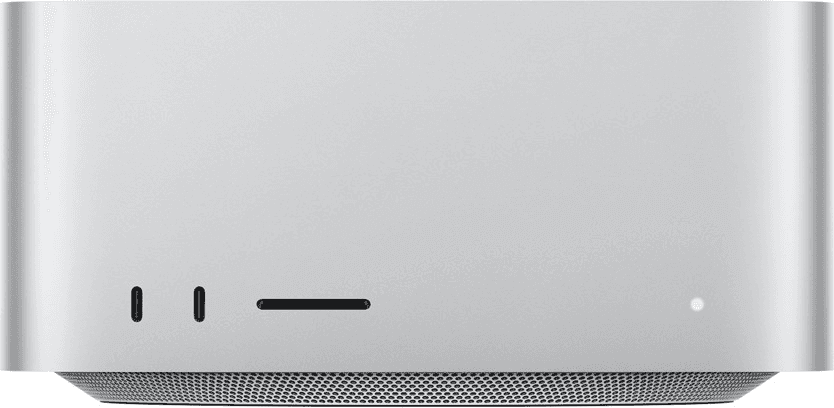
Mac Mini - Small But Mighty
For me, a laptop with long battery life was non-negotiable, as I work from anywhere and everywhere. However, if portability isn't your priority, the Mac Mini has all the power at a slightly cheaper price. You can get a well-configured machine for a more affordable price, assuming you already have a monitor, keyboard, and mouse. It’s a more budget-friendly way to get a powerful machine for a fixed office setup.
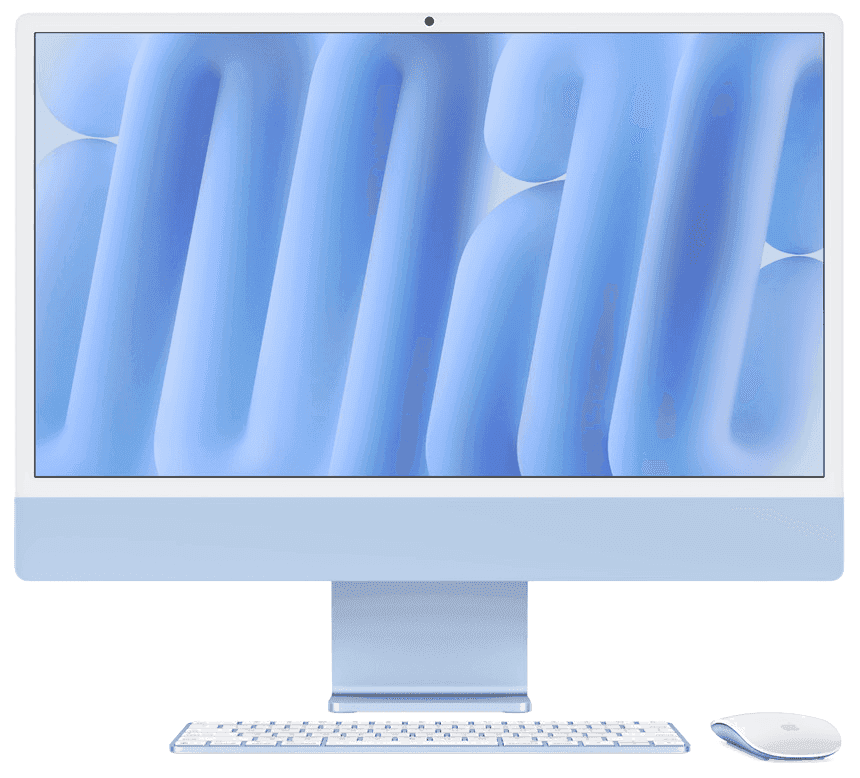
iMac - The All-In-One
The iMac is Apple's all-in-one desktop, a good fit for someone who wants a simple, elegant setup without needing to buy a separate monitor, webcam, or speakers. Its biggest selling point is the big built-in 4K display, which is useful for design work and asset creation. It typically has similar performance and RAM limitations to the MacBook Air, making it the ideal choice if you want a powerful desktop computer with everything included right out of the box at the cost of more power and RAM.
Mac Studio - No Limits (or Budget)
The Mac Studio is a compact desktop powerhouse that provides the extra power and RAM missing from an iMac or Mac Mini. It allows you to upgrade to to Apple's top-tier chips and supports up to a ridiculous amount of RAM (up to 512GB for the M3 Ultra version). If your ID work involves heavy 4K video editing, complex 3D animations, or you simply want the most powerful desktop machine possible, AND you have no budget to stay within, the expensive, but capable Mac Studio might be a good fit as long as you bring your own peripherals.
For most ID work, this is probably overkill though.
Buying Renewed
Don't overlook the used market. You can often find great deals on M2 or M3 MacBooks. Since RAM is the main bottleneck, finding a used model with at least 24-32GB of RAM can give you a machine that won't break a sweat for a fraction of the price of a new one.
What About Windows-Only Software?

Let's address the elephant in the room: Articulate Storyline and other PowerPoint-based eLearning authoring tools like iSpring Presenter.
For years, they have tied instructional designers to the Windows ecosystem. Before we talk about how to run this software on a Mac, it’s worth asking a more fundamental question: should you have to?
Ditch the Legacy Tools
This is a perfectly viable strategy now. Many of these dominant tools are built on legacy code from PowerPoint and their leadership has refused to migrate to the web or create Mac versions (despite PowerPoint itself being available on Mac for decades). You could argue that for a modern freelancer, it's not worth the trade-offs to continue supporting platforms that refuse to modernize.
The good news is the market is now full of powerful, fully web-based, cross-platform authoring tools that work on any computer with a browser. If you have the freedom to choose your tools, consider these excellent alternatives instead:

Articulate Rise - Building Blocks for Scrolling Courses
Rise is Articulate's web-based tool for rapidly creating responsive, single-page courses. It uses a block-based system where you stack pre-designed, interactive sections of content rather than building on a blank slide. This template-driven approach makes it ideal for content that needs to look clean and modern without deep customization.

Chameleon Creator - Flexible Layouts + Deep Analytics
Chameleon Creator is a collaborative, cloud-based tool known for its strong focus on accessibility and design flexibility. It supports both vertical scrolling and traditional horizontal slide-based layouts within the same course. This makes it a versatile choice for teams that need to create a variety of visually rich, accessible learning experiences.

Coassemble - Simple Authoring with Integrated LMS
Coassemble combines a user-friendly course authoring tool with the core functions of a Learning Management System (LMS), including learner enrollment, tracking, and reporting. This is a practical solution for businesses or freelancers who need a single, integrated system to both create and deliver their training without connecting separate authoring and delivery platforms.

Evolve - Powerful Customizable Course Authoring
Evolve is a web-based authoring tool geared towards power users who want more control and flexibility than simpler block-based systems offer. Its component-based architecture allows for a high degree of customization, complex interactions, and logic-based triggers. It's a strong choice for teams that want to build sophisticated, highly interactive responsive courses without being limited by templates.

Genially - Interactive Presentations and Gamification
Genially specializes in creating standalone interactive and gamified assets. While you can build full courses, its strength lies in building highly visual content like animated infographics, presentations, and game-like modules such as digital escape rooms or interactive images. It’s a versatile tool for creating engaging, shareable content that goes beyond the traditional course format.

iSpring Page - Rapidly Create Mobile Micro-courses
As the web-based component of the iSpring Suite, iSpring Page is designed for the rapid creation of simple, mobile-first content. It builds clean, scrolling micro-courses, articles, and assessments that are easy to author and are more mobile friendly. It serves as a lighter, faster alternative to the more robust, PowerPoint-centric iSpring Suite tool.

isEazy - Easy Authoring with Professional Templates
True to its name, isEazy focuses on making course creation fast and simple through a heavy reliance on professional templates. Authors can quickly assemble courses by choosing from a large library of pre-designed layouts and interactions. It's a good fit for teams that need to produce visually consistent, professional-looking courses quickly without a steep learning curve.

Lectora Online - Powerful Authoring for Complex Courses
The cloud-based version of the long-standing Lectora desktop tool. Its core strengths lie in its power and flexibility to handle complex, non-linear projects with extensive use of variables, actions, and conditional navigation. It is also well-regarded for its robust support for accessibility standards like Section 508, making it a good choice for government and corporate training that requires strict compliance.

Parta.io - Collaborative, Brand-Centric Authoring
A collaborative authoring tool that gives design teams a high degree of control over branding and customization. A key strength is the ability to not just customize individual course templates, but to create and save entire branding packages that can be instantly applied to any project for quick, consistent reskinning. It's built for team workflows with features like task assignment and commenting for reviews, and a central resource manager for project assets.

Skilitics - Complex Interactions with No Code
Skilitics is a specialized tool focused on creating high-fidelity, practice-based learning. Its core is an "Interaction Builder" that allows authors to build complex, game-like simulations and intricate branching scenarios without needing to code. It can create immersive learning experiences where learners can practice and be assessed on complex skills.
Choosing one of these tools means you can avoid the entire Windows compatibility issue altogether. The market is expanding and it may be worth considering other options if you can.
Of course, the reality is that many of us simply don't have a choice. Client requirements, existing project libraries, or company standards often mean that Storyline or iSpring are non-negotiable.
In that case, you still have excellent options to get them running seamlessly on a Mac..
My initial solution was to buy a capable Beelink Mini PC for $500 (cheaper than the $600 repair on my Dell) and access it remotely from my MacBook using an app like Jump Desktop.
The Pros:
Cost-Effective: Jump Desktop is a one-time $35 purchase, making it very desirable if you want to avoid yearly subscription fees. (Jump Desktop is completely free to use on Windows).
Preserves Mac Resources: Because the workload is on a separate computer, it doesn’t use your Mac’s RAM or CPU. This can be a huge benefit if you have a base-model Mac with less RAM and you have a highly spec’d workstation at home or in the office.
Total Separation: It keeps your Windows and Mac environments completely isolated, which some people prefer.
The Cons:
Internet Dependent: Your productivity is entirely reliant on a fast, stable internet connection for both machines. I ran into frustrating connection issues while traveling.
Clunky Workflow: You have to manage the Windows PC's sleep settings to ensure it's always accessible, and moving files between systems feels clumsy compared to a native setup and might require uploading things to and from cloud storage like Google Drive or OneDrive on both machines.
Noticeable Lag: While negligible for occasional use, there is a slight delay that can be distracting during long development sessions.
After running into some of the connections and lag issues, I decided to try Parallels Desktop, which lets you install and run a full version of Windows directly on your Mac.
The Pros:
Seamless Workflow: Coherence Mode hides the Windows desktop and lets Storyline run like a native Mac app. You can drag-and-drop files between systems, and copy-paste is flawless. There is zero lag.
Works Offline: Since Windows is running locally, you aren't dependent on an internet connection to do your work.
Flexible Views: You can either use Coherence Mode for an integrated feel or run the entire Windows desktop in its own full-screen space, effectively turning your Mac into a Windows computer with a swipe.
The Cons:
Subscription Cost: The Pro version of Parallels (needed for more than 8GB of virtual RAM) costs around $120 per year.
Uses Mac Resources: It requires you to dedicate a portion of your Mac's RAM and CPU to the virtual machine. This is why having a Mac with sufficient RAM is important.
Minor Lingering Bugs: While virtualization has improved immensely, it’s not perfect. For example, Storyline still consistently freezes for a moment the first time you try to edit text in a new project. It resolves itself quickly, but it's a predictable and annoying quirk.
So if you’re on a tight budget, only use Storyline occasionally, and have a reliable internet connection at your primary workspace, Jump Desktop might be the best option. However, if you’re a heavy Storyline user, prioritize a fast and seamless workflow, and work from different locations with spotty internet, Parallels is probably the way to go.
For me, the smooth, lag-free experience of Parallels was easily worth the annual cost. I really only open my virtual machine for Storyline and iSpring, and shut it down when not in use. Although, these days I'm using it less and less in favor of the web based options.
How Hardware Improves Productivity

A computer is more than its processor and RAM. The daily interaction with the hardware itself can either create friction or streamline your workflow.
The following are the hardware differences that solved small but impactful issues I used to face and directly improved my productivity:
Battery Life
By far, the most important thing to me in a laptop is the battery life. As I said earlier, the ROG Flow was almost the perfect computer except for this. The MacBook takes all the things that laptop got right and adds a true all-day battery to the mix. I consistently get 8-10 hours of development time without even thinking about a charger, sometimes I even leave the house without it. I would NEVER do that with a Windows laptop. Even when I’m pushing it to the max with video calls, publishing Storyline projects on Parallels, and a dozen apps open, I still get 6 hours. That’s just not possible with any other Windows laptop I’ve ever used.
Maybe most importantly, Apple’s efficiency means they don’t have to throttle your performance when you're on battery. On the Dell, I had a powerful i9 and 4060 GPU when plugged in, but it would switch to the weaker integrated GPU and cut processing power to save battery. The Mac just gives you all of its power, all the time and still lasts longer.
Superior Trackpad
The trackpad is just better. The ROG Flow had a terrible one that I would only use if I absolutely had to. The Dell XPS had a huge trackpad that I thought would be as good as my old 2011 MacBook's, but for some reason, it just wasn’t as smooth. Plus the size was actually a barrier - I found myself frequently clicking with my palm while typing to the point where I just disabled it when I had my mouse. The Mac's trackpad is so responsive that I don’t find myself wishing I'd brought my mouse with me while traveling or in tight spaces without a desk.
This responsiveness is what makes the gestures so useful. Even with my mouse right next to me, I find myself using the trackpad gestures to scroll, swap between desktops, or see all my open apps. While you can do this on Windows, I never wanted to because I always defaulted to the mouse. Here, because the trackpad is so good, I find myself wanting to use it.
Multi-Monitor Support
If you've ever fought with screen scaling on Windows when connecting monitors with different resolutions, you'll appreciate this. On Windows laptops, moving certain apps between screens would cause them to notice the change in resolution and require a restart due to the scaling differences. The Mac handles multiple displays flawlessly. It just works.
Loud Speakers
I always had to use headphones on the ROG Flow, and the Dell XPS was just okay. The MacBook speakers are significantly louder and better quality, I can turn the volume up to the point where it's actually too loud. That never happened on my Windows laptops. I can actually hear people on my video calls without headphones even when they have low volume or a bad connection.
Brightness Control
It’s a small thing, but it’s nice being able to lower the brightness down to completely black. It’s bright enough to use outside, but also gets dark enough to be comfortable when working or watching videos in bed at night.
More Screen
I got the 14-inch for portability, but it feels MUCH bigger than the 13-inch ROG Flow and just a bit smaller than the larger 15-inch Dell XPS. The screen is taller and has minimal bezels, which gives you more space for websites and work. While the notch is somewhat obtrusive at the top, it mostly just disappears into the menu bar.
While the battery life was the main driver for my switch, it’s the combination of all these other hardware improvements that makes the daily experience better. From the trackpad that actually feels good to use, to the speakers that are loud and clear for calls or background music, it adds up to a reliable machine that just gets out of your way.
Mac Tools to Supercharge Your Workflow

Great hardware is the foundation, but having the right software and OS features is what builds an efficient workflow.
The following are the hardware differences that solved small but impactful issues I used to face and directly improved my productivity:
Espanso - Effortless Text Expansion
Out of all the tools I use, this one might save me the most cumulative time and mental energy each day. Espanso is a free, open-source text expander. In simple terms, you create a short trigger word (e.g., ;date), and whenever you type it, Espanso instantly replaces it with a longer piece of text like the current date (e.g., August 1st, 2025 or 2025.08.01) or anything else you've configured.
It works system-wide, in your browser, your email client, your storyboards, even in Parallels, and helps eliminate repetitive typing, reduce errors, and ensure consistency.
Here’s how I’ve integrated it into my freelance workflow.
Handling Contact and Business Info
Instead of digging through my contacts or a spreadsheet to find an email, address, or business number, I create shortcuts for my most frequently used contacts and business information. This is perfect for filling out forms, writing invoices, or addressing emails. For example:
Your Email:
;myemail→youremail@freelance.comYour Address:
;myaddress→123 Main Street, Suite 101, Anytown, USA 12345Business Numbers:
;taxid→XX-XXXXXXX(Perfect for a Tax ID/EIN)Client Teams:
;clientteam→projectmanager@client.com; sme@client.com;
Managing Project Links and URLs
I use this constantly for sharing links in emails, Slack messages, or documents. It's especially powerful for a large project with many distinct pages.
Your Portfolio:
;portfolio→https://www.yourportfolio.comSocial Media:
;linkedin→https://www.linkedin.com/in/yourprofileClient Project Portals:
;clientportal→https://client.project-dashboard.com/login
Speeding Up Development and Technical Tasks
For more technical tasks, I also use Espanso to standardize code, variables, and commands that need to be typed perfectly every time.
For Development: When working on a project, create temporary shortcuts for long variable or function names to avoid typos.
;getuser→function getUserData(userID) {}For AI Image Generation: Instantly add common parameters to your prompts.
;ar→--ar 16:9For Design Work: Save brand color hex codes or specific commands for your tools.
;brandblue→#007BFF
Everyday Typing Shortcuts
And, I use it for simple things that just save a few keystrokes but add up over the course of a day.
;idr→instructional designer;date→2025.07.31(It automatically inserts the current date in my preferred format).
Building out your Espanso configuration file is like creating a personalized, hyper-efficient language for interacting with your computer. Start with your own email address, you'll be hooked and will start seeing opportunities to automate your typing everywhere.

Flameshot - Quick Screenshots + Annotation
While the built-in macOS screenshot tool is sufficient for quick captures (Cmd+Shift+4), I use the Flameshot app for more robust needs. It works system-wide, allowing me to capture and manipulate visuals from any application, which is essential for an ID's diverse workflow.
Pinned Screenshots
Flameshot lets you take a screenshot of any portion of your screen and "pin" it so it floats on top of all your other windows. This is incredibly useful for reference. For example, I can pin a screenshot of a client's branding guide on my screen while I'm designing a presentation or website. The screenshot is always visible, so I can reference colors, logos, and fonts without having to constantly switch back and forth between windows. It's like having a persistent, visual clipboard.
Instant Annotation for Any Application
Flameshot allows you to capture anything on the screen and it immediately opens an editor for annotations.
For Review Feedback: Instead of writing a long email, I can just grab a screenshot of a course preview, circle an element in question, and type "Can we make this button blue?" right on the image. It's faster, clearer, and leaves no room for misinterpretation.
For Software Tutorials: It's also great for creating quick job aids for software. I can capture a window from a specific application, number the steps in a process, use arrows to guide the user's eye, and highlight key information in seconds.
A Streamlined Workflow
Once you're done annotating, you can choose whether to save the image to your computer or copy it directly to your clipboard. I’ve set it up so that a double-click on the final image automatically copies it and dismisses the annotation window. With two clicks, my annotated screenshot is ready to be pasted directly into an email, a Slack message, or a storyboard slide. It removes all the friction from creating and sharing visuals across all my tools.

Karabiner-Elements - Powerful Key Mapping Modifications
This one is for the power users who love shortcuts. Karabiner-Elements is a free, powerful tool that lets you remap any key on your keyboard to do almost anything. It has a bit of a learning curve for more complex modifications, but the payoff in productivity is massive.
Simple Remapping
At its most basic level, you can remap any key. This is perfect for adding functions that are missing from a Mac keyboard. For example, MacBooks don’t have a dedicated Forward Delete key (to delete text in front of the cursor) like Windows keyboards do; you have to press Fn + Delete. With Karabiner, I’ve remapped the largely unused backslash \ key to act as my Forward Delete key, saving a keystroke every single time I need it.
While the Fn key can already do some of these actions, the entire point of this customization is to make those actions faster and more ergonomic. It’s about turning a two-handed, two-key combination into a single, one-handed key press. It's all about saving those tiny milliseconds that add up over thousands of repetitions, making your keyboard more useful and fully utilized.
The "Hyper Key"
This is where Karabiner gets really powerful. You can designate a key like Caps Lock or one of your Option keys to act as your own personal modifier, unlocking a new layer of shortcuts. I use my Option key this way to instantly launch or switch to my core applications:
Option + T→ Opens Microsoft TeamsOption + E→ Opens my Email ClientOption + P→ Opens Parallels
Importantly, if an app is already running, this shortcut instantly brings it to the front and puts it in focus. It's a much faster way to switch between my main apps than Cmd + Tab or using the mouse.
Adding 'Home' and 'End' Keys
One of my biggest frustrations coming from a PC background was the lack of dedicated Home and End keys. Karabiner solves this by remapping my bracket keys:
[→ Jumps to the beginning of the line (cmd + left arrow)]→ Jumps to the end of the line (cmd + right arrow)
This small change has had a massive impact on my text editing speed. I’ve also remapped Option + [ or ] to be the normal open or close bracket so I can still use it in the rare cases I need it.
Custom Hotkeys
In Storyline, when you add commands to the Quick Access Toolbar, Storyline automatically assigns them shortcuts (Alt + [Key]). With Karabiner, you can map a single Mac key to trigger these commands in your Windows virtual machine. For example, I have my F4 key set up to trigger the "Focus Order" command in Storyline, which is a huge time-saver for accessibility testing.
This also works for any other software that has shortcut keys that can’t be modified directly from within the platform.

Built-in Features
Beyond the third-party apps, macOS also has several useful built-in features that can significantly improve a freelance ID workflow. While there are equivalents on Windows (either natively or with 3rd party apps), the way they're integrated on the Mac makes them more practical for my daily work.
Multiple Desktops
Virtual Desktops (“workspaces”) are another feature that I knew about on Windows but never used because of the trackpad. MacOS has also made it easier to easily full screen apps to a new space by just clicking the green Fullscreen button at the top left of the window. Now instead of having lots of windows piled on one screen, I can use virtual desktops to separate my tasks into focused environments. I can have the main desktop for reference material, storyboards, and asset development, and another one dedicated entirely to Parallels running Storyline.
A three-finger swipe up on the trackpad brings up Mission Control, where you can see all your desktops and easily drag windows between them. A three-finger swipe left or right cycles through these focused workspaces effortlessly. It feels like having multiple monitors on a single laptop screen.
If you just want to full screen the current app without opening a new workspace, you can hold the Option key when clicking on the green fullscreen button to maximize the window to the current workspace.
Hot Corner Shortcuts
In System Settings, you can assign an action to each of the four corners of your screen. When you move your mouse pointer into a corner, it instantly triggers that action. It's great for tasks you do frequently and allows you to use your mouse as a shortcut. I use the bottom left corner to quickly show and hide the desktop which is useful for grabbing downloaded assets and quickly dragging and dropping them into an editor. For quickly jotting down an idea or something I need to remember temporarily, I also have the bottom right corner set to Quick Notes which quickly brings up the notepad.
I actually left the top two corners with no action because I found I would hit them by accident when trying to manage windows or interact with the top menu.
Quick Look
Quick Look is built right into macOS and helps save time when previewing media files. In Finder, you can press the Spacebar to select any file (an image, a PDF, a video, an audio clip) and get an instant, full-size preview without having to wait for a full application to open. While it might sound like a minor convenience, it makes a huge difference when you’re sorting through a project folder with hundreds of assets.
Limitations and Real-World Issues

No platform is perfect, and it’s important to be transparent about the quirks.
Minor Storyline Glitches
While the overall performance of Storyline running in Parallels is really good, it's not perfect. I experience slightly more frequent minor visual glitches than I did on a dedicated Windows machine. For example, sometimes the pop up menu windows take a few extra seconds to load or the application will freeze for a moment the first time I go to edit a text box.
However, while the small glitches are consistent, the full application crashes have been far less frequent. I suspect this is due to the Mac's memory management. Even when it stalls, it usually doesn’t crash.
Webcam Quirks
Occasionally, Microsoft Teams will glitch and show my camera feed distorted or upside down. This usually happens in Teams when it's been open for a while and I’ve used other video conferencing apps like Zoom or Google Meet that compete for the webcam. A quick restart of the app always fixes it, but it's an issue I never encountered on my Windows PC.
The "Apple Ecosystem" Is Optional
I use a Mac but have an Android phone and a Surface tablet for taking handwritten notes. You do not need to be "all-in" on Apple to be productive. While having an iPhone and iPad would unlock additional workflow features like Universal Control (using your Mac keyboard to control your iPad), they are not requirements. My Mac coexists with my Android phone and other devices just fine. I am considering an iPad to replace my Surface tablet when it eventually dies, which would enhance my setup, but my current workflow works well enough without it.
Final Thoughts

Making the switch from Windows back to a Mac wasn't a decision I took lightly, but it was born out of a real need: finding a reliable tool that wouldn't get in the way of my freelance business.
After dealing with frustrating hardware failures and mediocre battery life on even high-end PCs, my priority was simple: a machine that would let me focus on my work, not on the tool itself.
What I found is that the value of the Mac isn't in one single feature. It's the combination of true all-day battery life that doesn't sacrifice performance, a trackpad that makes work more fluid, and an operating system that, with a few key apps like Espanso and Karabiner, can be tailored to a highly efficient workflow. Even the biggest obstacle (running Storyline) is no longer a deal-breaker, as Parallels handles it with ease for the projects that still require it.
The boost in daily productivity and, more importantly, the peace of mind that comes from having a reliable, powerful, and portable machine has been invaluable. If you're a freelancer looking for a new setup that prioritizes a seamless workflow and dependable hardware, a Mac is a more viable and powerful option than ever before.
